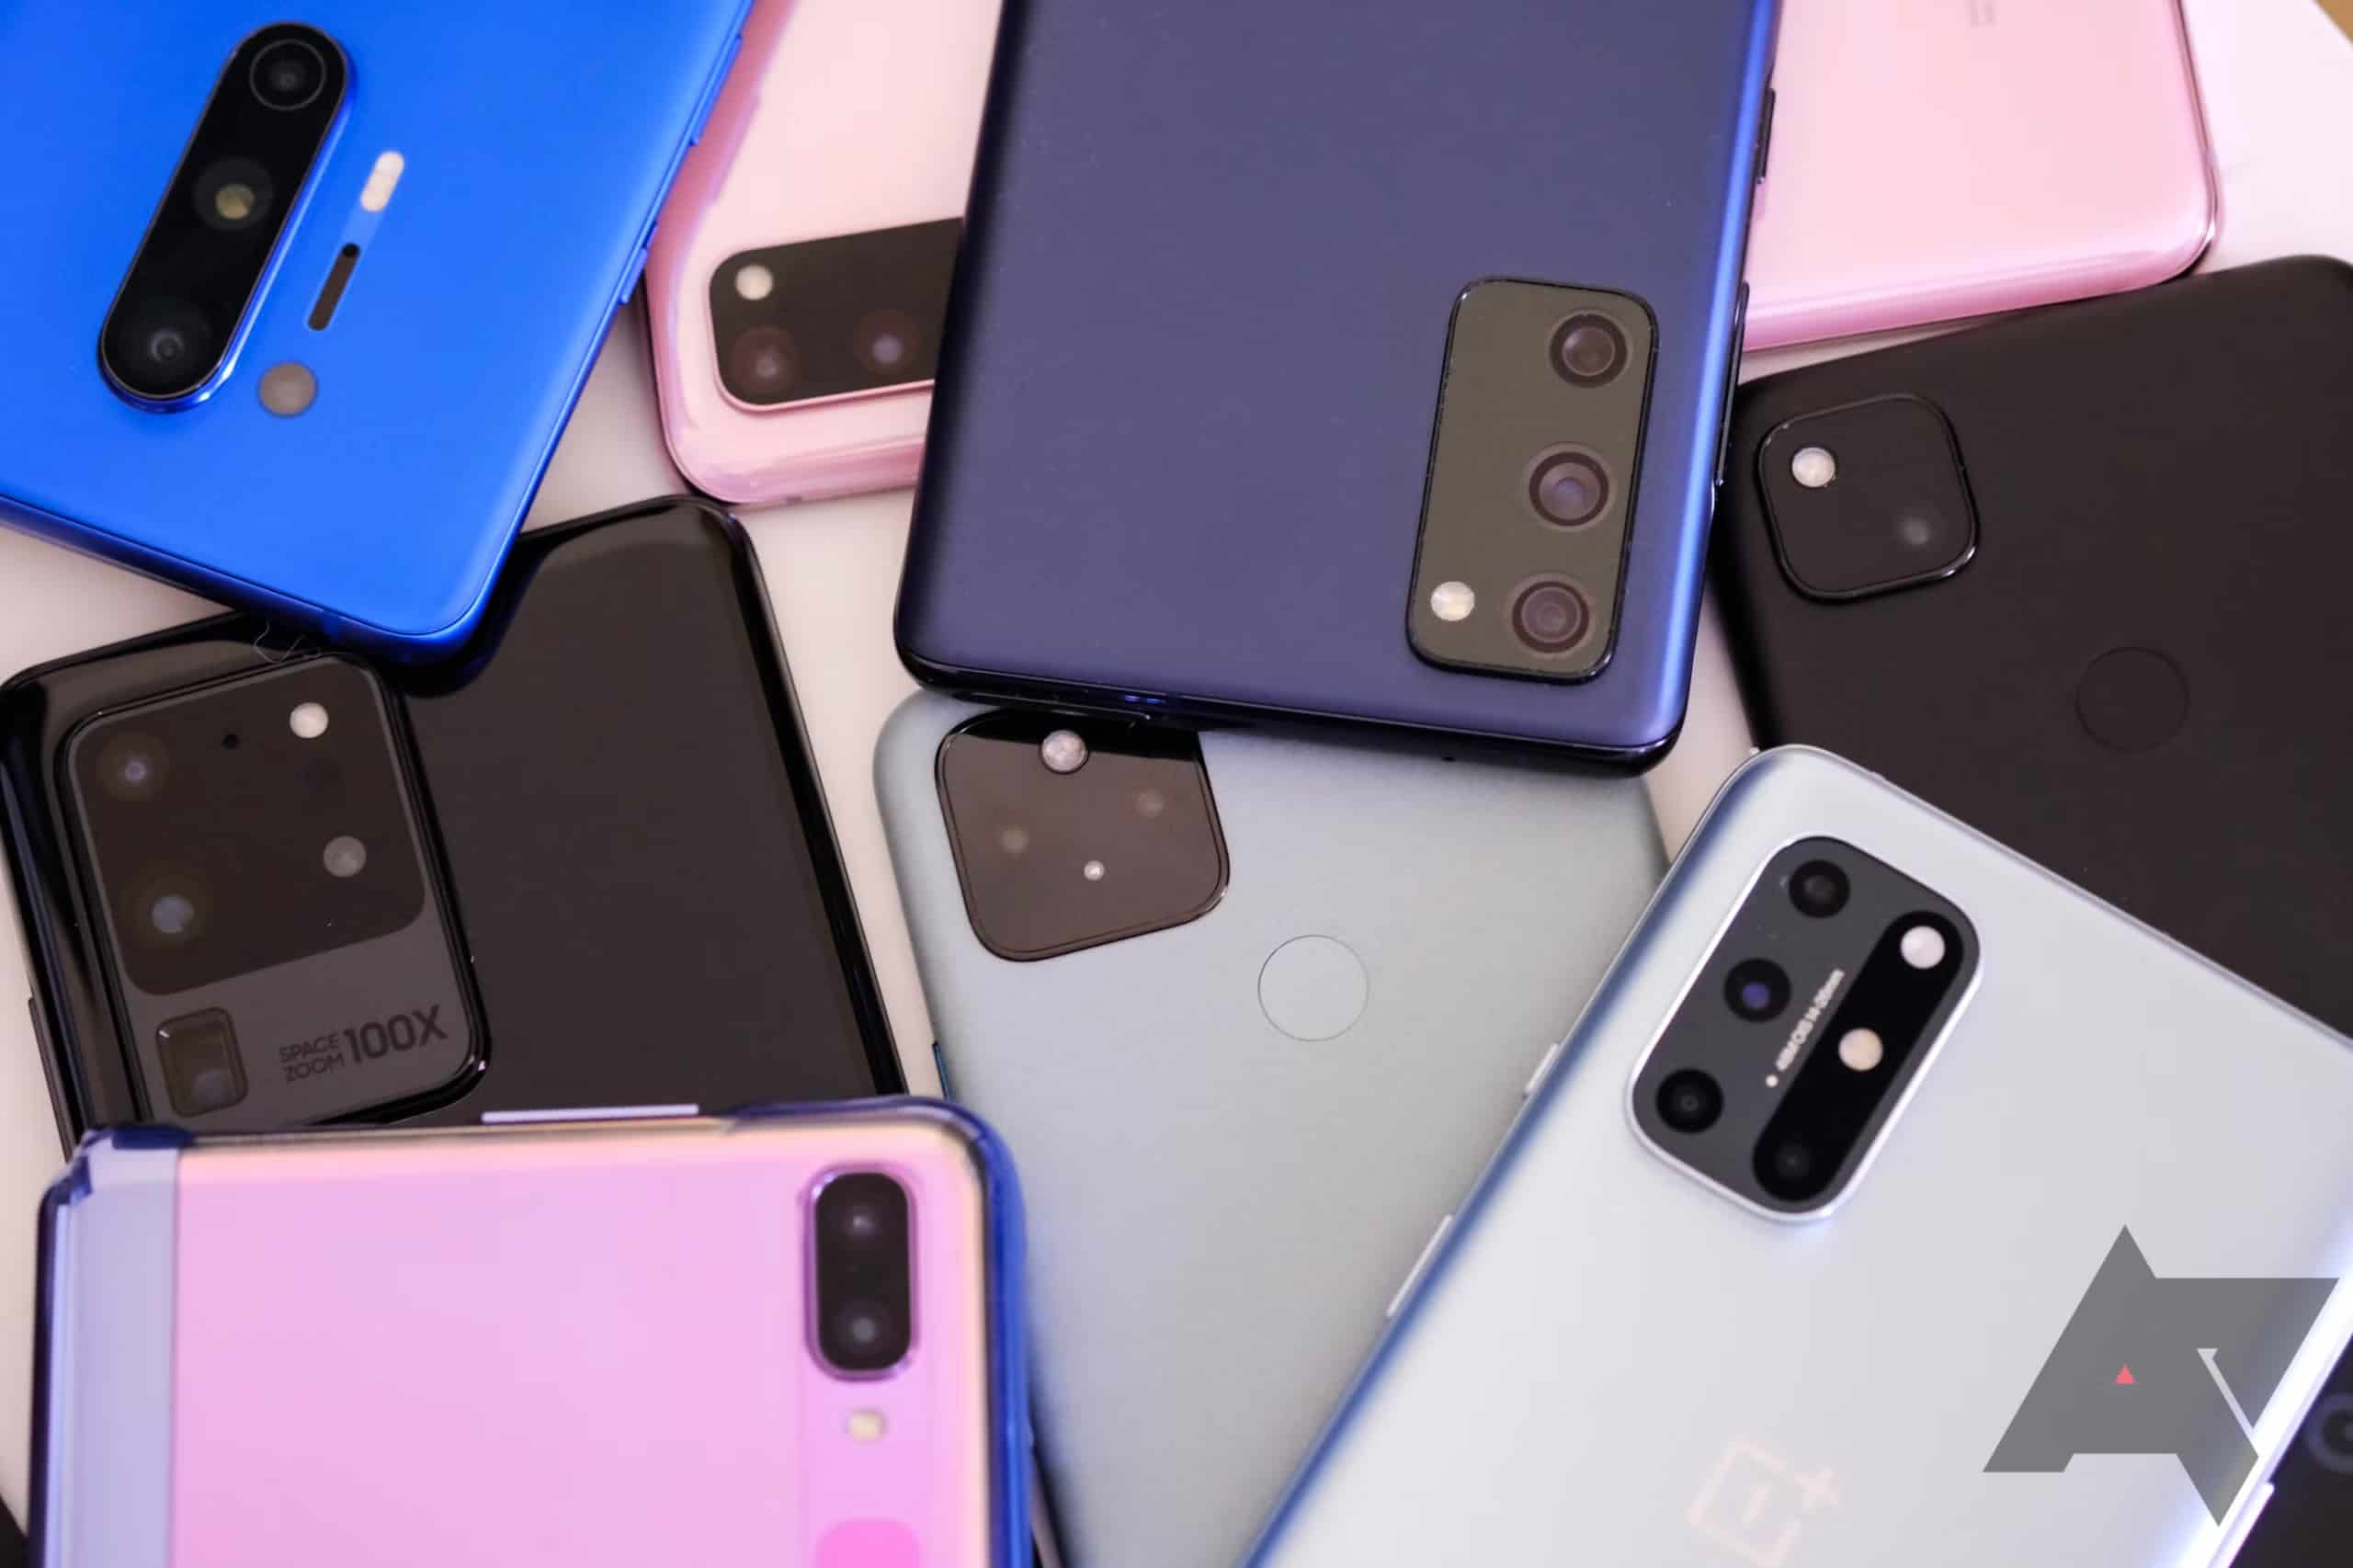
Sometimes, due to financial constraints or other reasons, buying a brand-new phone isn’t an option. In such situations, opting for a second-hand smartphone can be a viable and budget-friendly alternative. However, there are certain risks involved that you should consider before making your final decision.
The Risks of Buying a Used Smartphone
When purchasing a used Android phone, one of the biggest risks is not knowing its true condition. Many sellers might omit important details about the phone’s performance just to close the deal. For example, the WiFi signal might be weak, the battery may have a very short lifespan, or the fingerprint sensor might not work at all. These are issues that are not always obvious at the moment of purchase.
Secret Codes to Diagnose a Used Android Phone
If you’ve decided to buy a second-hand Android phone, there’s some good news: Android includes a set of secret codes that allow you to run a full hardware diagnostic on the device. These codes can help verify that the phone is functioning correctly and that you’re not wasting your money on a faulty device.
Running the diagnostic is easy. Simply open the Phone app and dial the corresponding secret code. This will open a hidden menu packed with useful tools to test various components of the device.
Android’s Secret Codes: A Handy Tool
Each Android brand has its own set of secret codes. Here are some examples for the most popular manufacturers:
- Samsung Galaxy:
##4636## - Google Pixel:
*#*#7287#*#* - Motorola:
*#*#2486#*#* - Xiaomi / Redmi / POCO:
*#*#64663#*#*
These codes grant access to hidden diagnostic menus, providing detailed information about both hardware and software. From this interface, you can quickly spot any technical issues that could affect the device’s usability.
First Step: Verify the IMEI Number
Before running the tests, make sure the device hasn’t been reported as stolen or lost. You can check this by verifying the IMEI number. If it doesn’t show up in the menu, dial *#06#, and the number will appear on the screen. Copy it and check it on a platform like Swappa to confirm the phone’s legitimacy.
Key Tests to Perform
Within the diagnostic menu, look for the Keypad Test or similar. Press every physical button (power, volume, home, etc.). If each button lights up in green on the screen, it means it’s working properly. Any unresponsive button could be a sign of damage.
Next, test the vibration motor. Navigate to Vibrator Test and verify if the phone vibrates in various modes (continuous, intermittent, etc.). This ensures the motor is functioning as expected.
One of the most important features to test is the Display. Use the Display Test to check backlight brightness, and the Touch Sensor to make sure the screen responds correctly to touch input across all areas. This can also reveal any dead pixels or touch issues.
Additional Checks
You can also simulate a phone call to test the microphone and speakers, ensuring they’re in working order. Test the charging port and 3.5 mm headphone jack, if present, to avoid connectivity problems.
The hidden menu also allows you to check if important sensors are functioning properly — including the fingerprint sensor, proximity sensor, and accelerometer.
Final Tips Before Buying
Besides running these diagnostics, ask the seller to reset the phone to factory settings. This will help confirm that the operating system is stable and free of major performance issues. Also, inspect the phone physically for scratches, cracks, or other signs of wear that could indicate previous damage.
Buying a used Android phone can be a smart and economical choice — but only if you take the necessary precautions. Leveraging Android’s secret codes to run a full hardware check is an excellent way to protect your investment and avoid any unpleasant surprises. Be informed, be cautious, and you can walk away with a great deal.
